The peace lily, with its elegant white blooms and air-purifying properties, is a popular choice for indoor gardeners. But what if I told you there’s more to this resilient plant than meets the eye? My journey with Peace Lilies has been one of trial and error, and today, I want to share some insights you might not find on every blog. I hope my experiences will inspire you to grow and nurture your Peace Lilies.
The Beauty of the Peace Lily
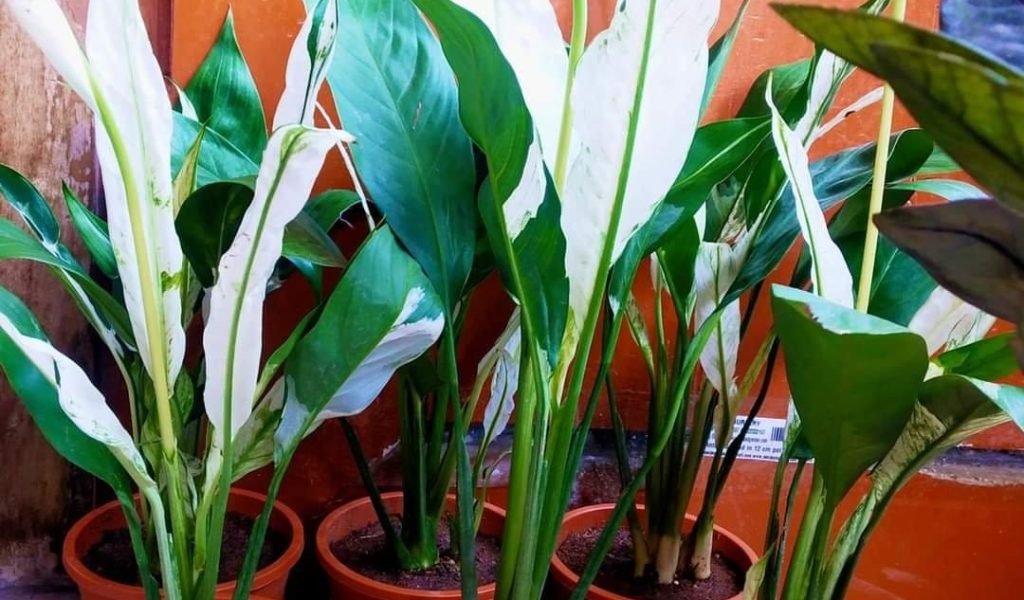
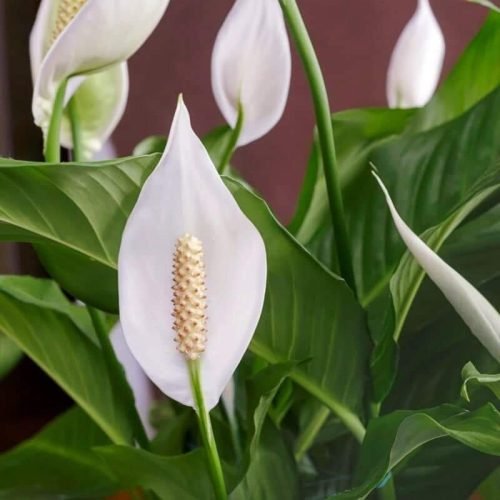
The Peace Lily (Spathiphyllum) is a popular houseplant known for its striking white flowers and lush green foliage. It’s a favorite among indoor plant lovers because of its air-purifying qualities and relatively low maintenance needs. When I first got my Peace Lily, I was captivated by its elegant appearance and the calming vibe it brought to my living space.

Propagating the Peace Lily
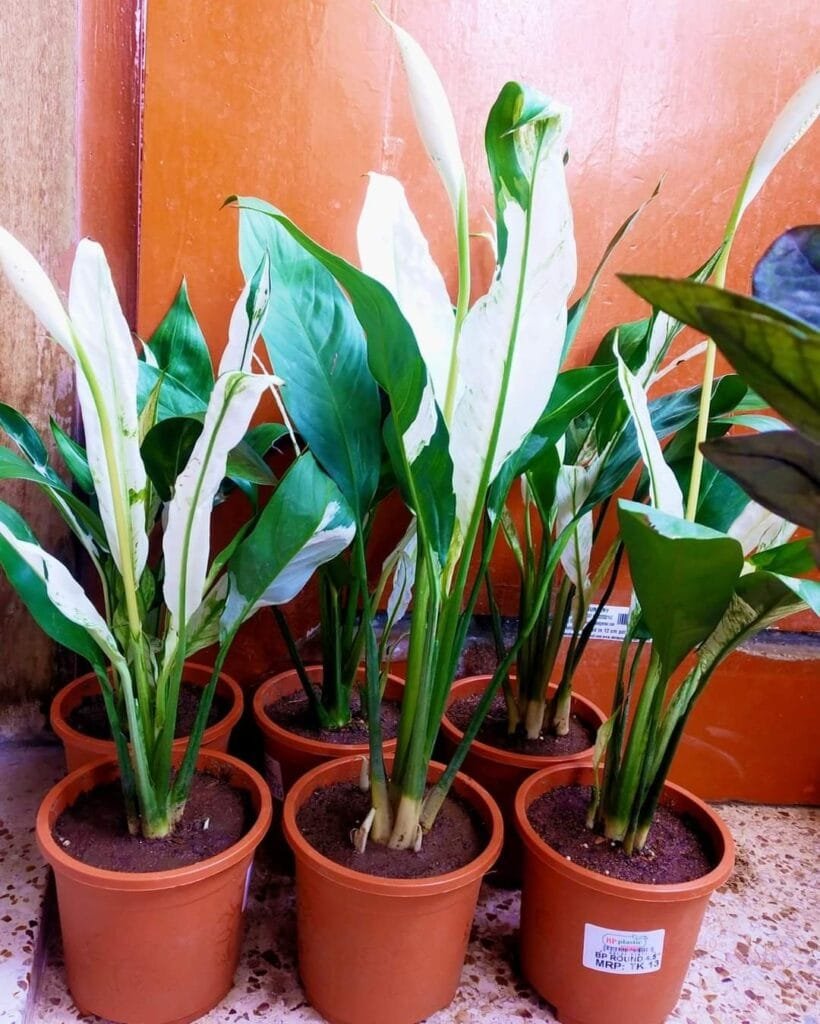
One of the most exciting parts of my journey was learning how to propagate the Peace Lily. Propagation not only allows you to expand your plant family but also makes for wonderful gifts to share with friends and family. Here’s my step-by-step guide based on the experience got:
1. Choosing the Right Time
Peace Lilies can be propagated at any time of the year, but I found that spring or early summer is the best period. The warmer temperatures and increased sunlight help the new plants establish themselves more quickly.
2. Preparing Your Tools
You’ll need a few basic tools: a sharp, clean knife or scissors, a small pot with drainage holes, fresh potting mix, and water. I recommend using a well-draining, peat-based potting mix to give your new plants the best start.
3. Dividing the Plant
Carefully remove the Peace Lily from its pot. Shake off the excess soil to expose the root system softly. Look for natural divisions in the plant – these are clumps of leaves with their own root systems. Using your knife or scissors, separate these clumps, ensuring each division has at least a few leaves and healthy roots.
4. Potting the Divisions
Fill your small pots with the potting mix, making a small hole in the center. Place the division into the hole and gently pack the soil around it. Water thoroughly to help settle the soil and roots. I like to place the newly potted divisions in a shaded area for a few days to help them acclimate.
5. Caring for the New Plants
Keep the soil consistently moist but not waterlogged. After a few weeks, you should start to see new growth, indicating that your new Peace Lilies are well on their way!
Caring for Your Peace Lily
Caring for a Peace Lily is a rewarding experience. These plants are fairly low maintenance but do have a few specific needs to thrive.
1. Light
Peace Lilies prefer bright, indirect light. Direct sunlight can scorch their leaves, so I keep mine in a spot where they get plenty of light but are shielded from harsh rays. If your Peace Lily isn’t flowering, it might need a bit more light.
2. Watering
One of the most common mistakes is overwatering. Peace Lilies like their soil to be consistently moist but not soggy. I water mine once a week and always check the top inch of soil before watering again. If it feels dry, that’s the time to water. They are also great communicators; if they start to droop, they’re usually thirsty.
3. Humidity
These tropical plants love humidity. If your home is dry, especially in the winter, consider placing a humidifier nearby or setting the pot on a tray filled with pebbles and water. This extra humidity can help prevent browning leaf tips.
4. Fertilizing
During the growing season (spring and summer), I feed my Peace Lily with a balanced, water-soluble fertilizer every 6-8 weeks. Be careful not to over-fertilize, as this can lead to brown leaf tips and reduced blooming.
5. Cleaning and Pruning
Dust can accumulate on the leaves, blocking sunlight and reducing the plant’s ability to photosynthesize. I wipe the leaves with a damp cloth every few weeks. Also, remove any yellow or brown leaves to keep the plant looking its best and encourage new growth.
Troubleshooting Common Issues
Even with the best care, Peace Lilies can sometimes encounter problems. Here are a few issues I’ve faced and how I dealt with them:
1. Yellow Leaves
Yellow leaves can be a sign of overwatering, underwatering, or too much direct sunlight. Check your watering schedule and light conditions to determine the cause.
2. Brown Tips
Brown tips are often caused by dry air, over-fertilizing, or inconsistent watering. Increasing humidity and adjusting your fertilizing routine can help.
3. Lack of Flowers
If your Peace Lily isn’t flowering, it might need more light or a bit of fertilization. Move it to a brighter spot and consider feeding it during the growing season.
Final Thought
The Peace Lily is a wonderful addition to any home, bringing beauty, tranquility, and cleaner air. Propagating and caring for these plants has been a joyful and fulfilling journey for me. I hope my experiences inspire you to grow your Peace Lilies and enjoy the many benefits they offer.
Happy gardening! If you have any questions or want to share your own Peace Lily stories, feel free to leave a comment below. I’d love to hear from you!

