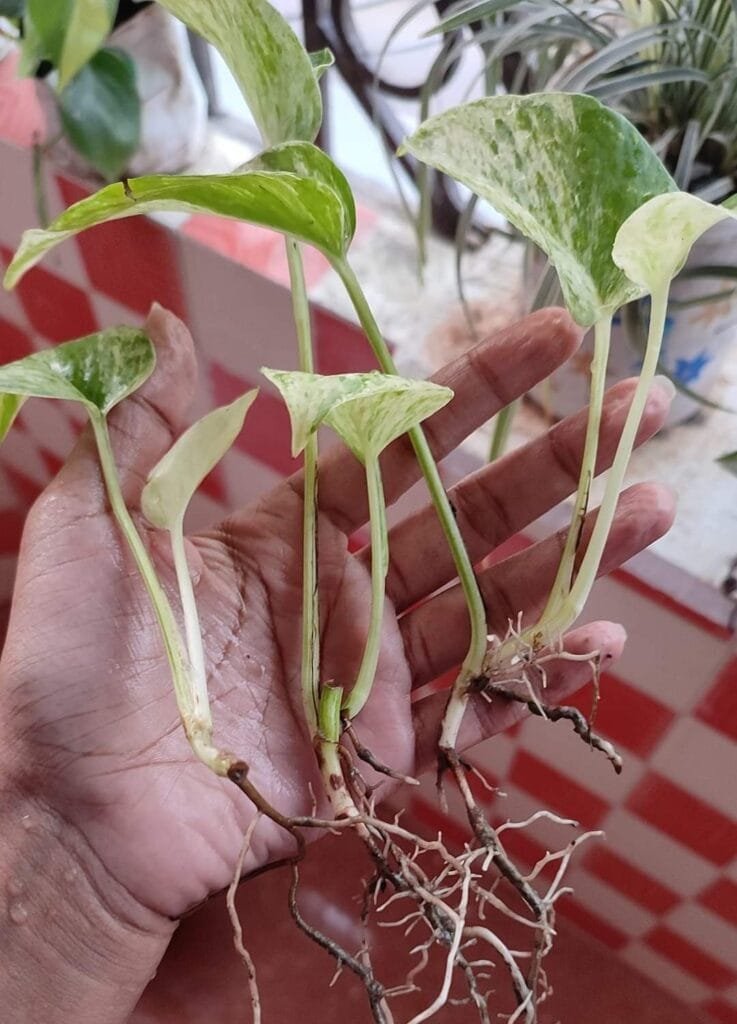
Welcome back to Indoor Grove, your haven for all things low-maintenance and leafy. Today, we’re diving into one of the most exciting and magical aspects of indoor gardening – plant propagation.
Imagine turning one plant into many, sharing the joy of greenery with friends, or simply filling your home with more of your favorite plants without spending a dime. Sounds amazing, right?
Propagation isn’t just a gardening technique; it’s a journey of discovery and growth. I’ve spent countless hours experimenting with various methods, from the straightforward to the slightly quirky, and I’m thrilled to share my successes (and a few hilarious failures) with you.
At the end of this blog, you will be a master of plant propagation. I promise. Let’s get started!
Why Propagate Indoor Plants?
Before we get into the nitty-gritty of how to propagate, let’s talk about why you might want to do it in the first place. For me, propagation is a beautiful blend of science and art. It’s amazing to witness a tiny cutting transform into a full-fledged plant. Beyond the joy it brings, propagation offers several benefits:
- Cost-effective: Instead of buying new plants, you can grow them from your existing ones.
- Sustainability: Propagating your plants reduces waste and promotes a greener lifestyle.
- Plant Sharing: It’s a wonderful way to share your favorite plants with friends and family.
My journey into plant propagation began a few years ago when I wanted to expand my collection without breaking the bank. I remember my first successful attempt – a simple pothos cutting that thrived and grew into a lush plant. That moment hooked me, and I haven’t looked back since.
Basic Propagation Methods
There are several ways to propagate indoor plants, and each method has its unique charm. Let’s explore the most common methods:
- Stem Cuttings
- Leaf Cuttings
- Division
- Air Layering
I’ll share my personal experiences with each method, including the challenges I faced and how I overcame them.
Stem Cuttings
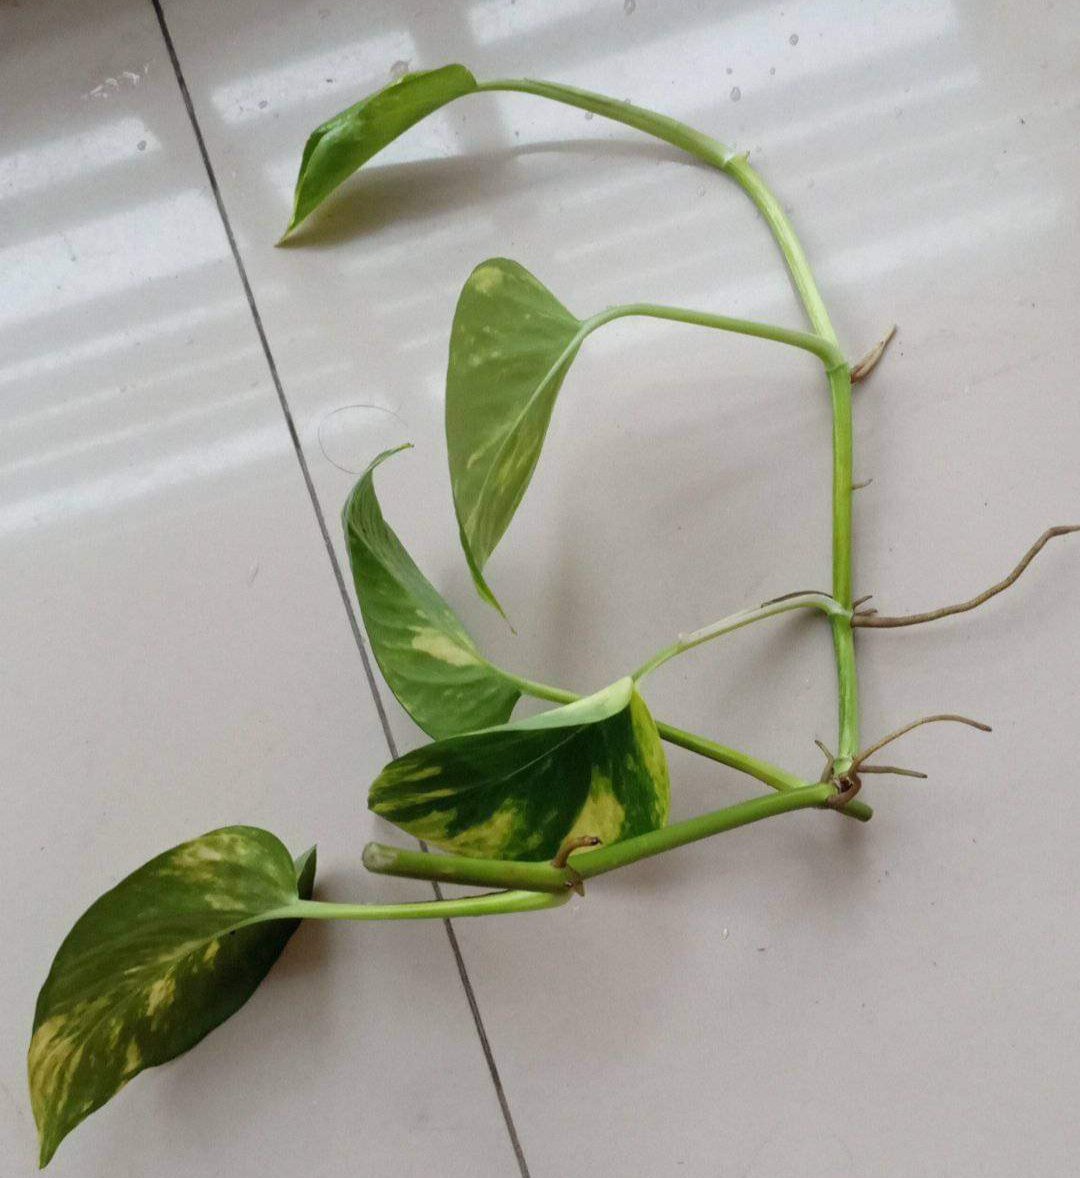
Stem cuttings are perhaps the most popular method of propagation. It involves cutting a piece of the stem and encouraging it to root. Here’s how you can do it:
- Choose a Healthy Plant: Select a healthy plant with a strong stem. My go-to plant for this method is pothos because it roots easily.
- Make the Cut: Using a clean, sharp knife or scissors, cut a section of the stem just below a node (the point where a leaf attaches to the stem). I usually aim for a 4-6 inch cutting.
- Remove Lower Leaves: Remove the leaves from the bottom half of the cutting. This prevents the leaves from rotting in water or soil.
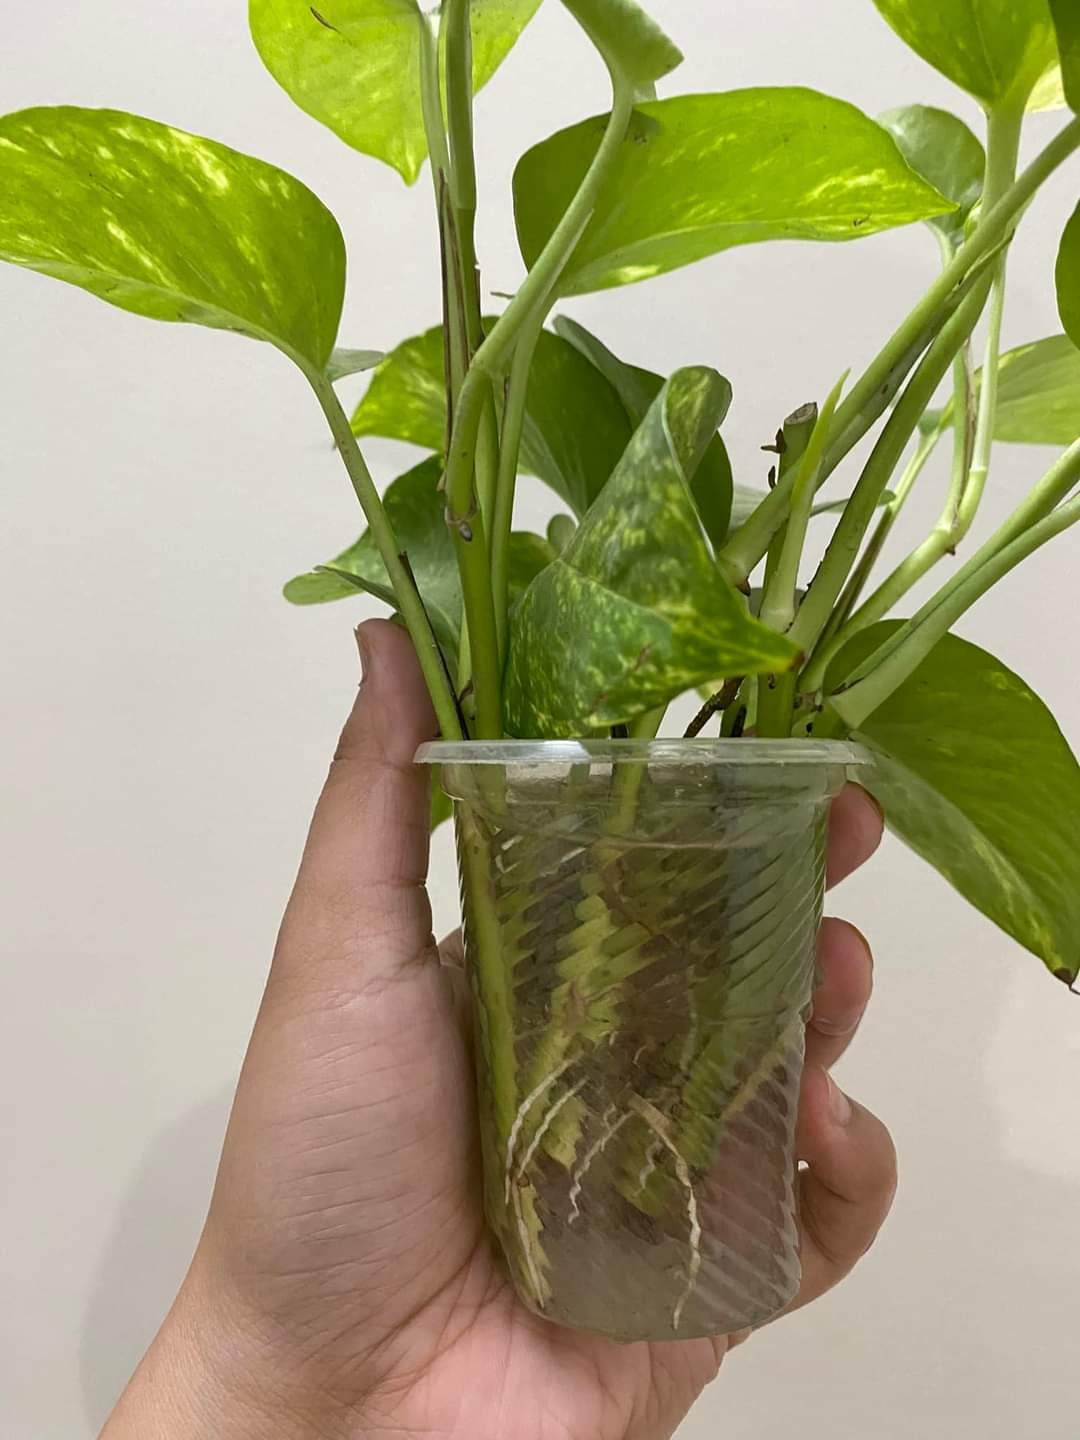
- Rooting Medium: Place the cutting in water or directly into the soil. Personally, I prefer starting in water because it’s easier to monitor root growth.
- Wait and Watch: Place the cutting in a bright, indirect light spot and change the water every few days if you’re using the water method. Roots usually grow in a few weeks.
I’ve had great success with pothos, spider plants, and philodendrons using this method. The key is proper care and patience.
Leaf Cuttings
Some plants, like succulents and begonias, can be propagated from leaves. Here’s how:
- Select a Leaf: Choose a healthy leaf from the plant. For succulents, I prefer using leaves that have naturally fallen off.
- Allow to Callous: Let the leaf sit out for a few days until the cut end forms a callous. This step is so crucial to prevent rotting.
- Place on Soil: Lay the leaf on the top of well-draining soil. For succulents, I lightly mist the soil to keep it moist.
- Wait for Roots: In a few weeks, tiny roots and new plantlets will start to form.
I remember the excitement of seeing tiny echeveria babies sprout from a single leaf. It felt like magic!
Division
Division works well for plants that grow in clumps, like snake plants and peace lilies. Here’s how to do it:
- Remove the Plant: Gently remove the plant from its pot.
- Separate the Clumps: Divide the root ball into smaller sections, ensuring each section has roots and leaves.
- Repot: Plant the divisions in separate pots with fresh soil.
This method is straightforward and works wonders for overgrown plants. I once turned a crowded snake plant into three healthy new plants using division.
Air Layering
Air layering is a bit more advanced but very effective for larger plants like rubber trees. Here’s a simplified version:
- Select a Branch: Choose a healthy branch and make a small cut or remove a section of the bark.
- Apply Rooting Hormone: Dust the cut area with rooting hormone.
- Wrap with Moss: Wrap the area with damp sphagnum moss and cover it with plastic wrap to keep it moist.
- Wait for Roots: In a few months, roots will develop. Once they’re established, you can cut the new plant from the parent and pot it up.
I successfully propagated my rubber tree this way, and it was incredibly satisfying to see the new roots emerge.
Tools and Materials Needed
You don’t need a lot of fancy tools to start propagating plants. Here are the essentials:
- Clean, Sharp Knife or Scissors: For making accurate cuts.
- Rooting Hormone: Optional, but it can speed up the rooting process.
- Containers: Small pots or jars for rooting cuttings.
- Soil: Well-draining potting mix, particularly for succulents.
- Water: For water propagation (Fresh water is must needed).
- Sphagnum Moss: For air layering.
I recommend investing in good-quality tools. I started with basic kitchen scissors, but upgrading to a pair of pruning shears made a big difference.
Aftercare for Propagated Plants
Aftercare is crucial to ensure your new plants thrive. Here are some tips:
- Light: Place your propagated plants in bright, indirect light.
- Water: Keep the soil moist but make sure it’s not waterlogged.
- Humidity: Some cuttings benefit from higher humidity. I use a plastic bag to create a mini greenhouse effect.
- Patience: Growth can be slow at first. Be patient and give your plants time to establish.
I’ve learned that overwatering is a common mistake. It’s better to let the soil dry out a little between waterings.
Troubleshooting Common Problems
Propagation doesn’t always go smoothly. Here are some common issues and how to deal with them:
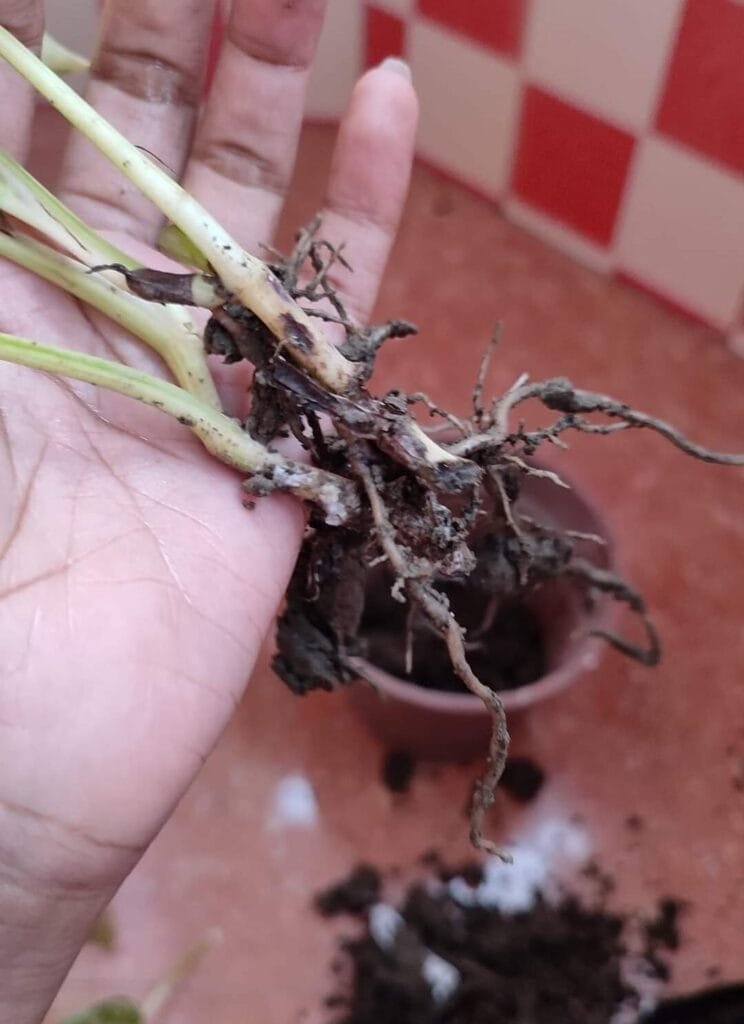
- Rotting Cuttings: Ensure cuttings are calloused and avoid overwatering.
- No Root Growth: Try using rooting hormone and provide adequate light.
- Wilting Cuttings: Increase humidity and ensure cuttings are getting enough water.
I’ve had my fair share of failed attempts, but each failure taught me something valuable. Don’t get discouraged – keep experimenting!
Propagation Success Stories
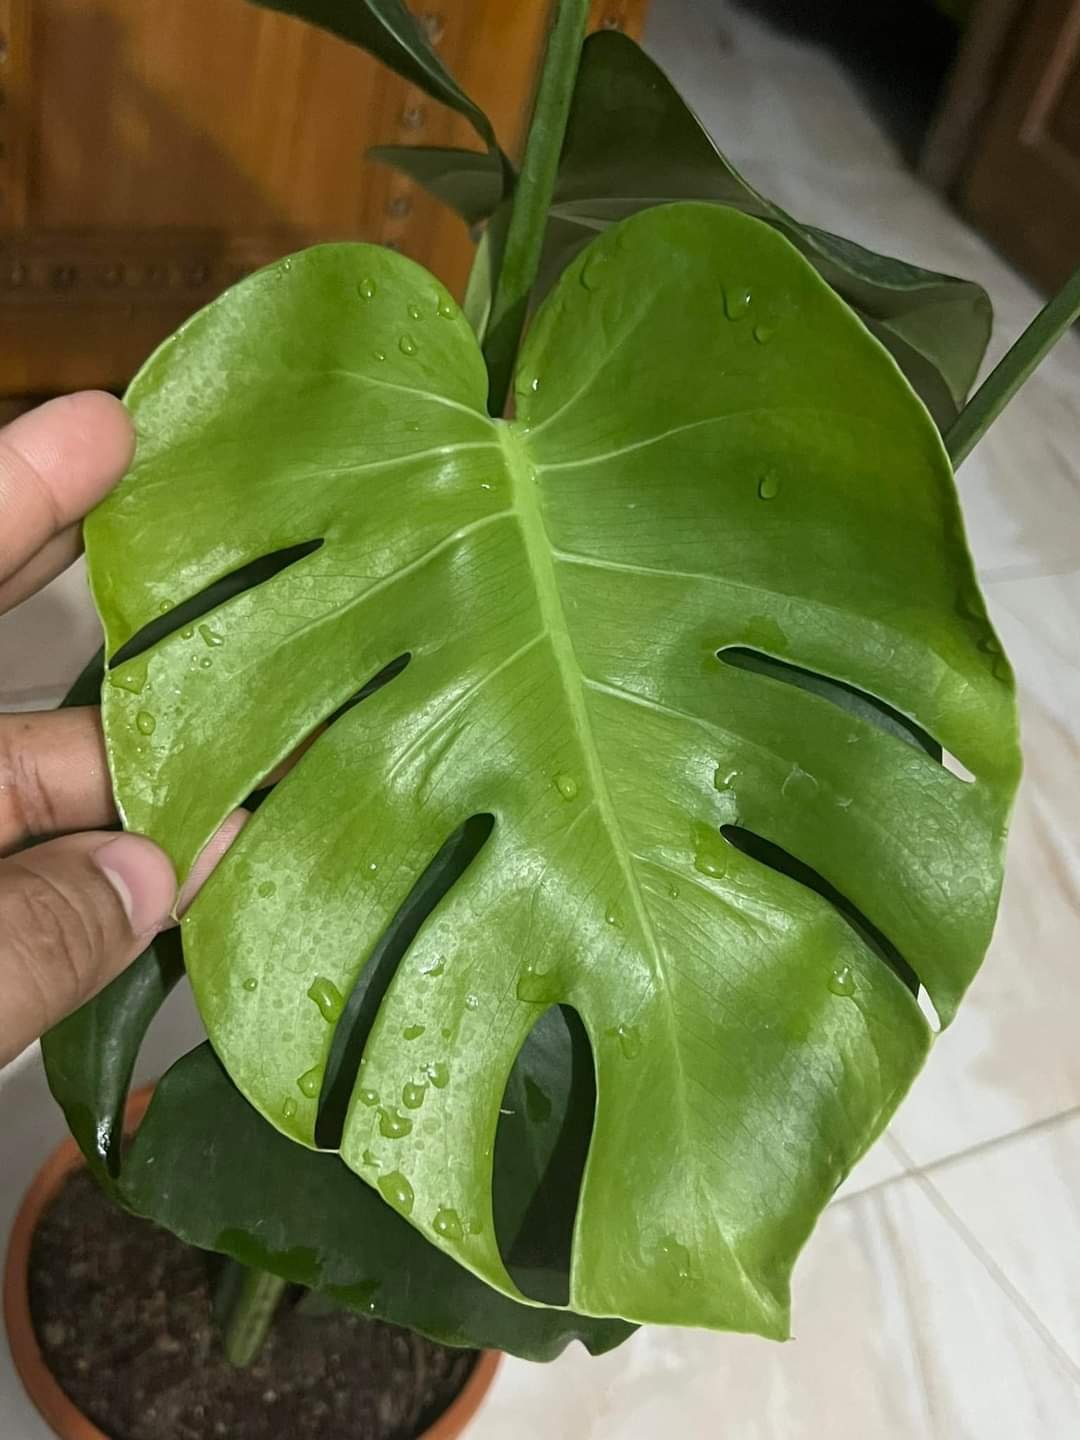
Let me share a few success stories to inspire you. One of my favorite experiences was propagating a Monstera deliciosa. I took a large cutting with aerial roots, and within a few months, it turned into a thriving new plant. Another memorable moment was propagating a ZZ plant from leaf cuttings. It took almost a year, but seeing those new shoots was worth the wait.

Frequently Asked Questions
Q: Can I propagate any indoor plant?
A: Most plants can be propagated, but some are easier than others. Start with easy-to-propagate plants like pothos or succulents.
Q: How long does it take for cuttings to root?
A: It varies by plant and method. Stem cuttings usually take a few weeks to a couple of months. Leaf cuttings, especially succulents, can take a few months to start showing new growth.
Q: Do I need to use rooting hormone?
A: Rooting hormone can speed up the process and increase the success rate, but it’s not always necessary. Many plants root just fine without it.
Q: What’s the best time of year to propagate plants?
A: Spring and summer are generally the best times because plants are actively growing. However, indoor plants can often be propagated year-round with the right care.
Q: Can I propagate plants in winter?
A: Yes, but it might take longer due to lower light levels and cooler temperatures. Ensure your plants have adequate light and warmth.
Q: Why are my cuttings not rooting?
A: It could be due to several reasons: insufficient light, too much or too little water, or the cuttings not being calloused properly before planting. Adjust these factors and try again.
Final Thoughts
Propagating indoor plants is not only a practical way to expand your collection but also a deeply satisfying hobby. Watching a new plant grow from a tiny cutting is a magical experience that never gets old.
I hope this guide has given you the confidence to try propagating your own plants. Remember, every successful propagation adds a new chapter to your gardening journey.
Have you had any success with plant propagation? Or perhaps you have some tips or questions? I’d love to hear from you too. Happy propagating, and may your indoor jungle continue to thrive!

