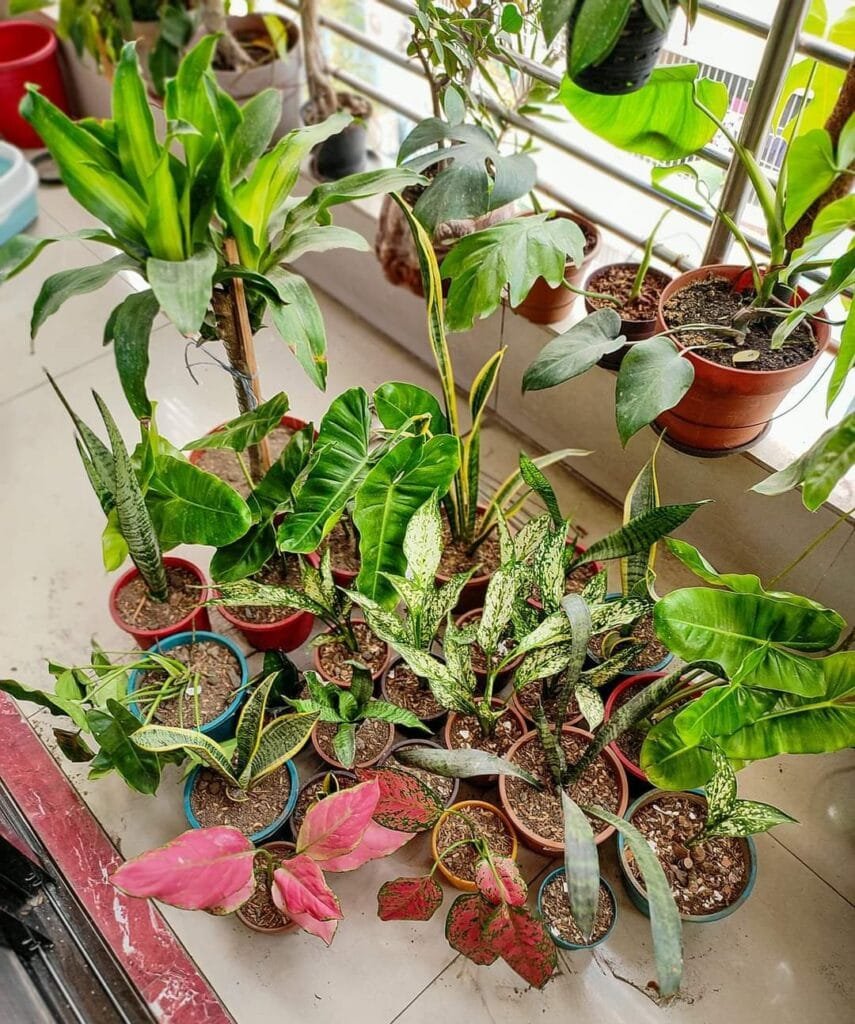
Repotting indoor plants might seem like a daunting task, but it’s one of the most rewarding aspects of plant care. I remember my first time repotting a plant – I was a bit nervous, my hands were shaky, and I was worried about damaging my beloved fern. But seeing the plant thrive afterward was incredibly satisfying. Over the years, I’ve learned a lot through trial and error, and I’m excited to share my experience to help you master the art of repotting.
Why Repotting is Important
Repotting is essential for several reasons. It promotes healthier root growth by giving roots more room to expand. Fresh soil provides new nutrients, and overall, repotting can rejuvenate a struggling plant. I’ve seen plants that were on the brink of giving up completely revitalized just by moving them to a new pot with fresh soil.
When I first started indoor gardening, I didn’t realize how critical repotting was. I had a pothos that was wilting no matter how much I watered it. After repotting, I noticed new growth within weeks. It was like the plant breathed a sigh of relief in its new, spacious home.
When to Repot Your Indoor Plants
Knowing when to repot is crucial. Look for signs such as:
- Roots growing out of the drainage holes
- Stunted growth
- Soil that dries out too quickly
- Yellowing leaves
Different plants have varying repotting needs. For instance, fast-growing plants like pothos and spider plants might need repotting annually, while slower growers like succulents and cacti can go a couple of years in the same pot. Trust your instincts and observe your plant’s behavior.
Choosing the Right Pot
Selecting the right pot is key. It should be slightly larger than the current one – about 1-2 inches wider in diameter. The material can affect water retention:
- Plastic pots retain moisture, ideal for plants that like consistent hydration.
- Ceramic pots are decorative but can be heavy and sometimes lack drainage.
- Terracotta pots are breathable, allowing excess moisture to evaporate, which is great for plants that prefer drier conditions.
I have a mix of pots, but terracotta is my go-to. It’s affordable, and I love the rustic look. Plus, it’s perfect for my succulents, which thrive with the extra airflow.
Selecting the Right Soil
The type of potting mix you use can make a huge difference. For most of my indoor plants, I use a well-draining mix that includes perlite and peat moss. The quality of the soil is vital for plant health, and I often add my own amendments to improve it. Here are some mixes I recommend:
- All-purpose mix: For most houseplants, a mix of potting soil, perlite, and peat moss works well.
- Succulents and cacti: A gritty mix with sand, perlite, and a small amount of potting soil.
- Orchids: A special orchid mixed with bark and charcoal for better drainage and aeration.
Step-by-Step Guide to Repotting
Step 1: Prepare Your Materials
Gather your tools: a new pot, fresh potting mix, watering can, gloves, and a trowel. I like to have everything organized before starting to make the process smoother. I set up a small station with a tarp to catch any spilled soil.
Step 2: Water Your Plant
Watering the plant a day before repotting helps reduce stress and makes it easier to remove from the pot. I once skipped this step and struggled to get the plant out without damaging the roots. Trust me, it’s always worth the extra effort.
Step 3: Remove the Plant from Its Current Pot
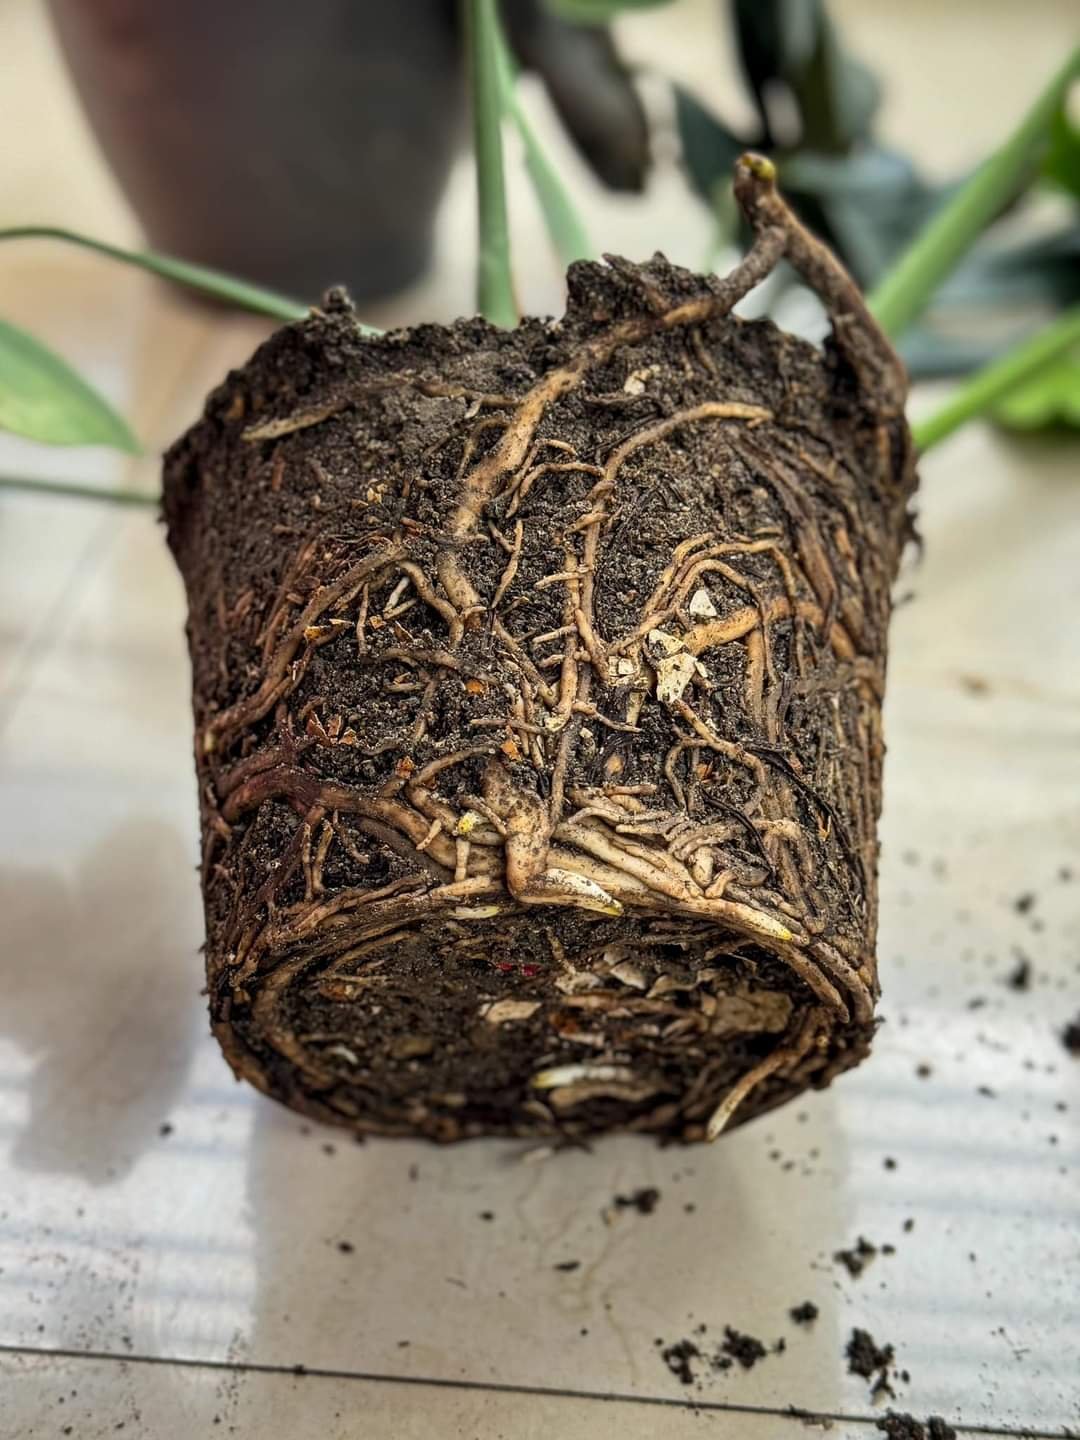
Gently tip the pot and relieve the plant out. If it’s stuck, squeeze the sides or use a knife to loosen the edges. I’ve found that a little patience goes a long way in preventing root damage. Sometimes, a gentle tap on the bottom of the pot helps release stubborn plants.
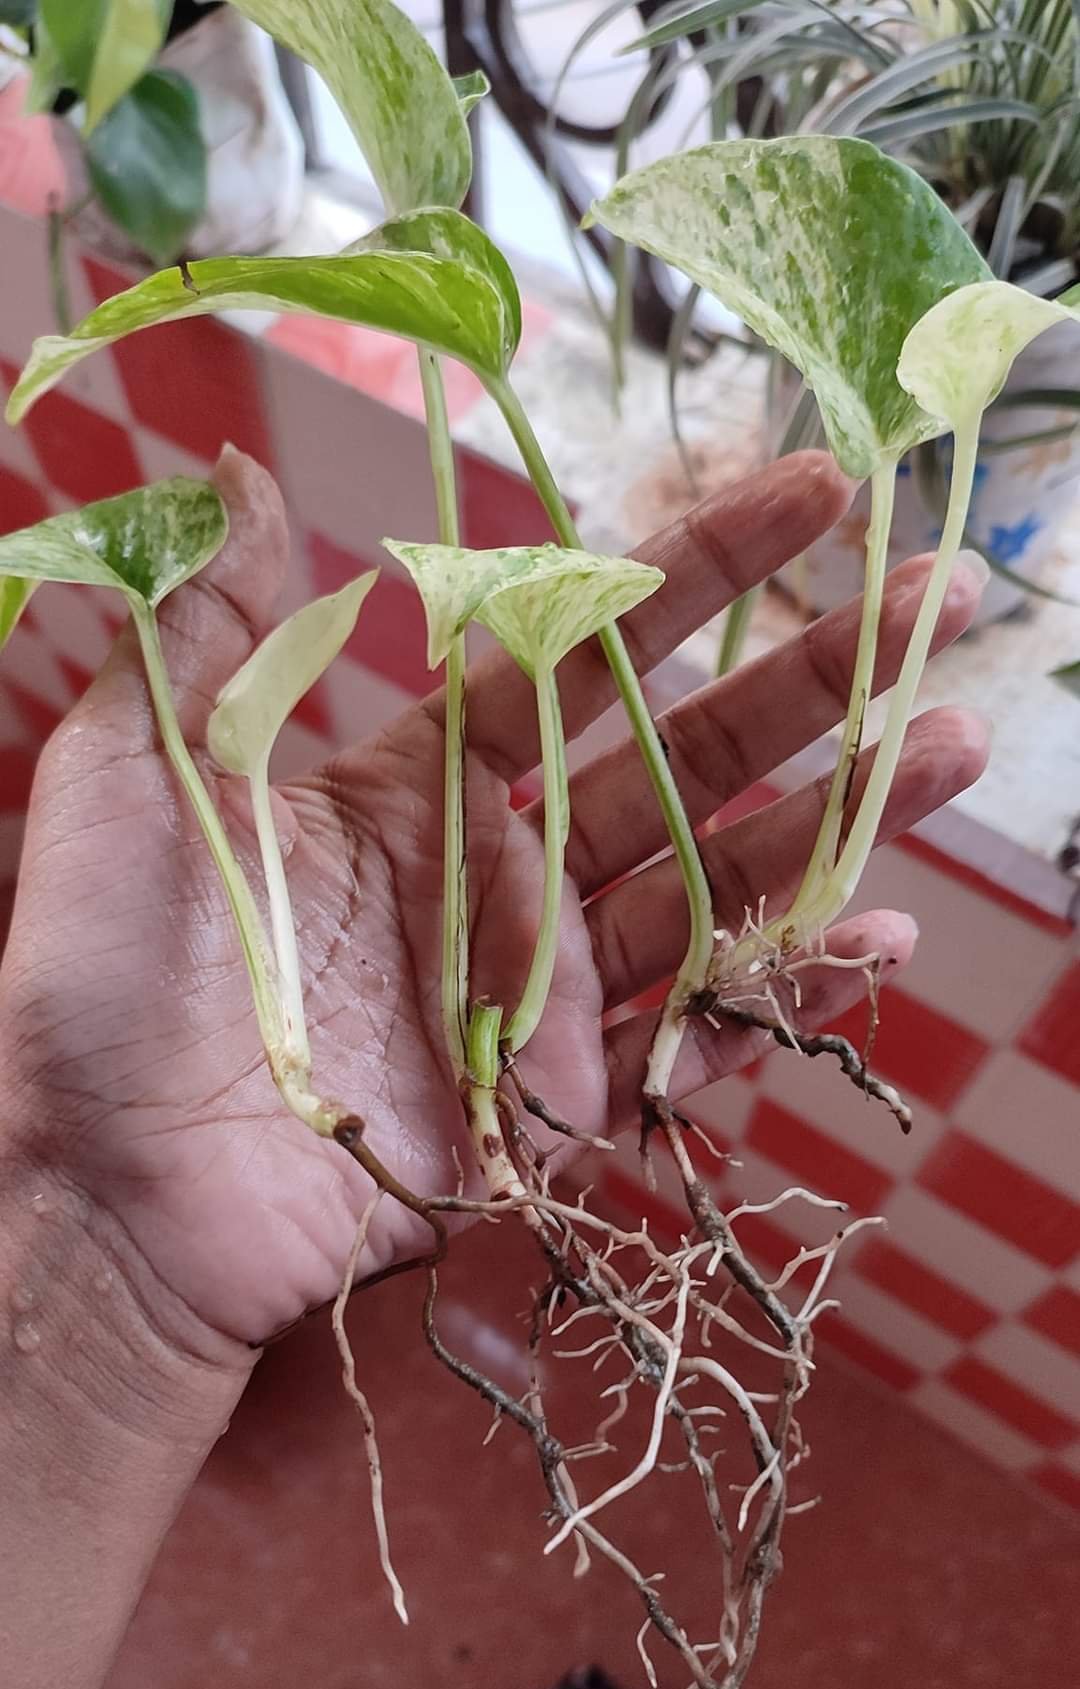
Step 4: Examine and Prune the Roots
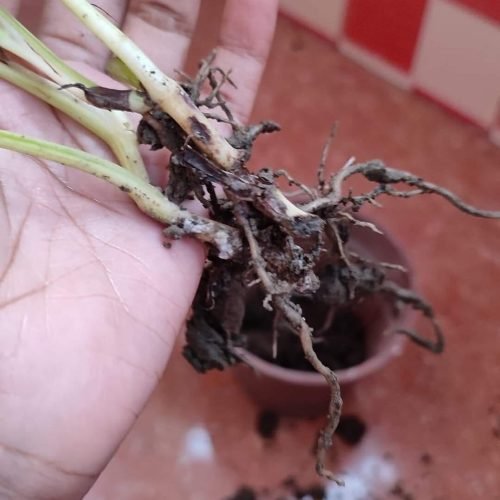
Inspect the roots and look for any signs of rot or disease. Trim away any brown or mushy roots. I saved a plant by removing the affected roots and giving it a fresh start in new soil. Healthy roots should be white or light tan and strong to the touch.
Step 5: Add Soil to the New Pot
First, add a layer of soil at the bottom of the new pot. The amount depends on the size of the pot and plant. I like to create a small mound in the center to help position the plant. This also ensures the roots have a soft landing and can spread out more easily.
Step 6: Position the Plant
Place the plant in the new pot, center it, and fill in around it with soil. Press the soil gently to eradicate air pockets. Ensuring the plant is level and stable helps it settle in its new home. I usually tap the pot lightly on the ground to help the soil settle evenly around the roots.
Step 7: Water Thoroughly
Once the repotting is completed, water the plant thoroughly to help it adapt. I’ve noticed that this step is crucial for minimizing transplant shock and promoting new growth. The soil will likely settle after the first watering, so you might need to add a bit more soil on top.
Post-Repotting Care
Congrats, we have done the repotting successfully. But wait, we are not fully done yet. Let’s talk about the post-repotting care of your plants.
Adjust the light and watering schedule as the plant may need less water initially. Keep an eye out for signs of shock like wilting or yellowing leaves. My routine involves a close watch for the first week and gentle care to help the plant acclimate. Avoid placing the plant in direct sunlight immediately after repotting; give it a few days to recover in a shadowy spot.
Common Mistakes to Avoid
Avoid overwatering or underwatering post-repotting. Ensure the new pot isn’t too large, and always check for adequate drainage. I’ve made these mistakes myself and learned that balance and observation are key. It’s better to under-water barely than to drown your plant.
Final Thought
Repotting might seem complex, but with a bit of practice and patience, it becomes a fulfilling part of plant care. Don’t be afraid to get your hands dirty and give your plants the fresh start they need. Remember, every plant is different, so listen to their needs and adjust your care accordingly.
I’d love to hear about your repotting experiences or answer any questions you have – feel free to reach out! Tata.
Frequently Asked Questions
Q: How soon after repotting should I fertilize my plant?
A: It’s best to wait about 4-6 weeks before fertilizing a newly repotted plant. This gives the roots time to settle and recover from the shock of repotting. Fresh soil usually contains enough nutrients to support the plant during this period.
Q: Can I repot my plant during any season?
A: While you can repot plants at any time of the year, the best time is during the growing season, typically spring and early summer. Plants are more resilient and can recover faster during their active growth phase.
Q: What should I do if my plant goes into shock after repotting?
A: If your plant shows signs of shock, such as wilting or yellowing leaves, place it in a stable environment with indirect light and avoid overwatering. Give it time to adjust, and ensure the soil is well-draining. Most plants will recover with a bit of patience.
Q: How do I know if I’ve chosen the right pot size?
A: A good rule of thumb is to choose a pot that’s 1-2 inches larger in diameter than the current one. If the pot is too large, the soil can retain excess moisture, leading to root rot. If it’s too small, the roots won’t have enough space to grow.
Q: Can I use garden soil for indoor plants?
A: Garden soil is not recommended for indoor plants as it can be too dense and may contain pests or diseases. Use a high-quality potting mix specifically formulated for indoor plants to ensure proper drainage and nutrient content.

